In this guide we will see step by step the correct installation of a toilet tank. Following these simple steps will ensure that your installation is successful.
Materials required:
- Toilet tank
- Fixing screws
- Screw thread
- Tank internal mechanism
- Union rubber
Steps:
Step 1: Preparation of the Toilet Bowl
Place the threads of the fixing screws into the corresponding holes in the toilet bowl. Make sure they are tight.
Step 2: Installing the Mechanism in the Tank
Place the internal mechanism in the tank according to the manufacturer’s instructions. Be sure to follow the directions for proper installation.
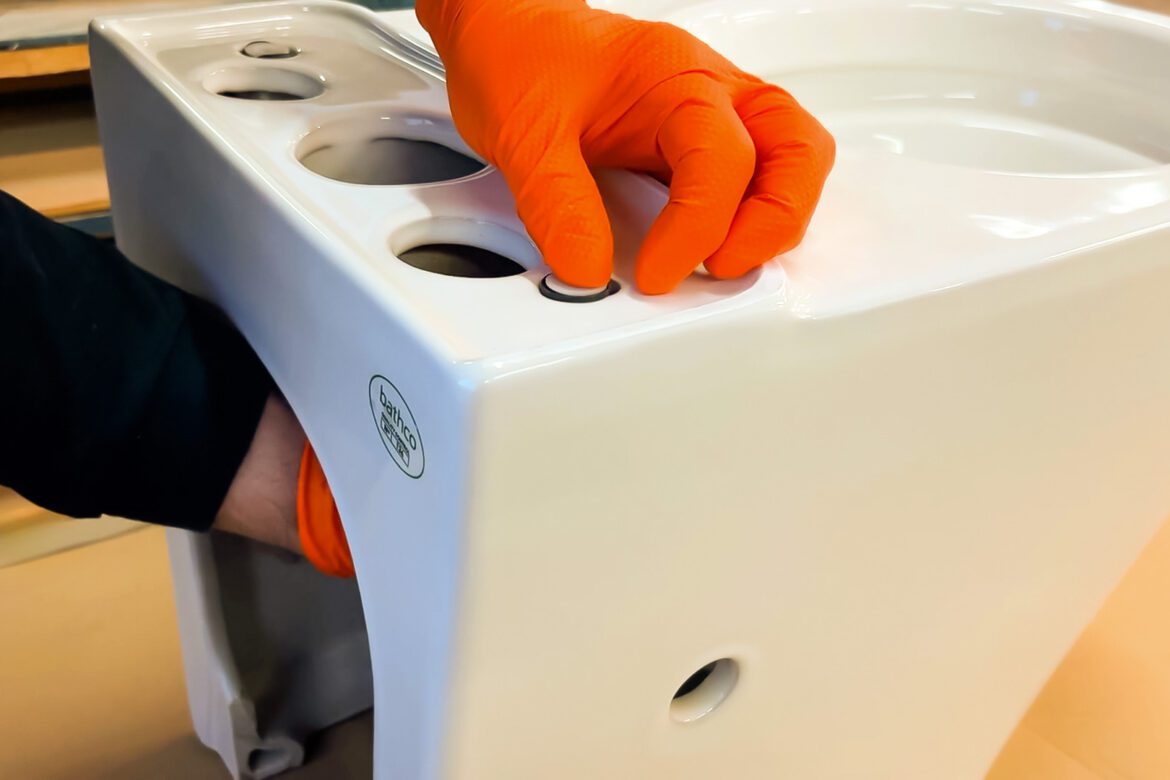
Step 3: Positioning the Joint Rubber
Place the joint rubber in its corresponding position on the bottom of the tank. Make sure it is placed evenly to ensure an efficient seal.
Step 4: Placing the Tank in the Cup
Lift the tank and place it over the toilet bowl, lining up the threaded holes with the previously installed mounting screws.
Step 5: Tightening the Screws
Start tightening the fixing screws little by little and alternately. This means tightening one screw a little and then moving on to the next, repeating the process until both are tight.
Be sure to tighten the screws evenly to ensure the tank is perfectly vertical.
Step 6: Check Fit
Once the screws are securely tightened, check that the tank is level and securely attached to the toilet bowl. Adjust as necessary.
Step 7: Function Test
Fill the tank with water and perform a flush test to make sure the mechanism is working properly and there are no leaks at the connection between the tank and the bowl.
By following these steps, you will have correctly installed your toilet tank. Always remember to consult the manufacturer’s specific instructions to ensure proper installation and avoid future problems. Ready to enjoy a perfectly functioning toilet!